
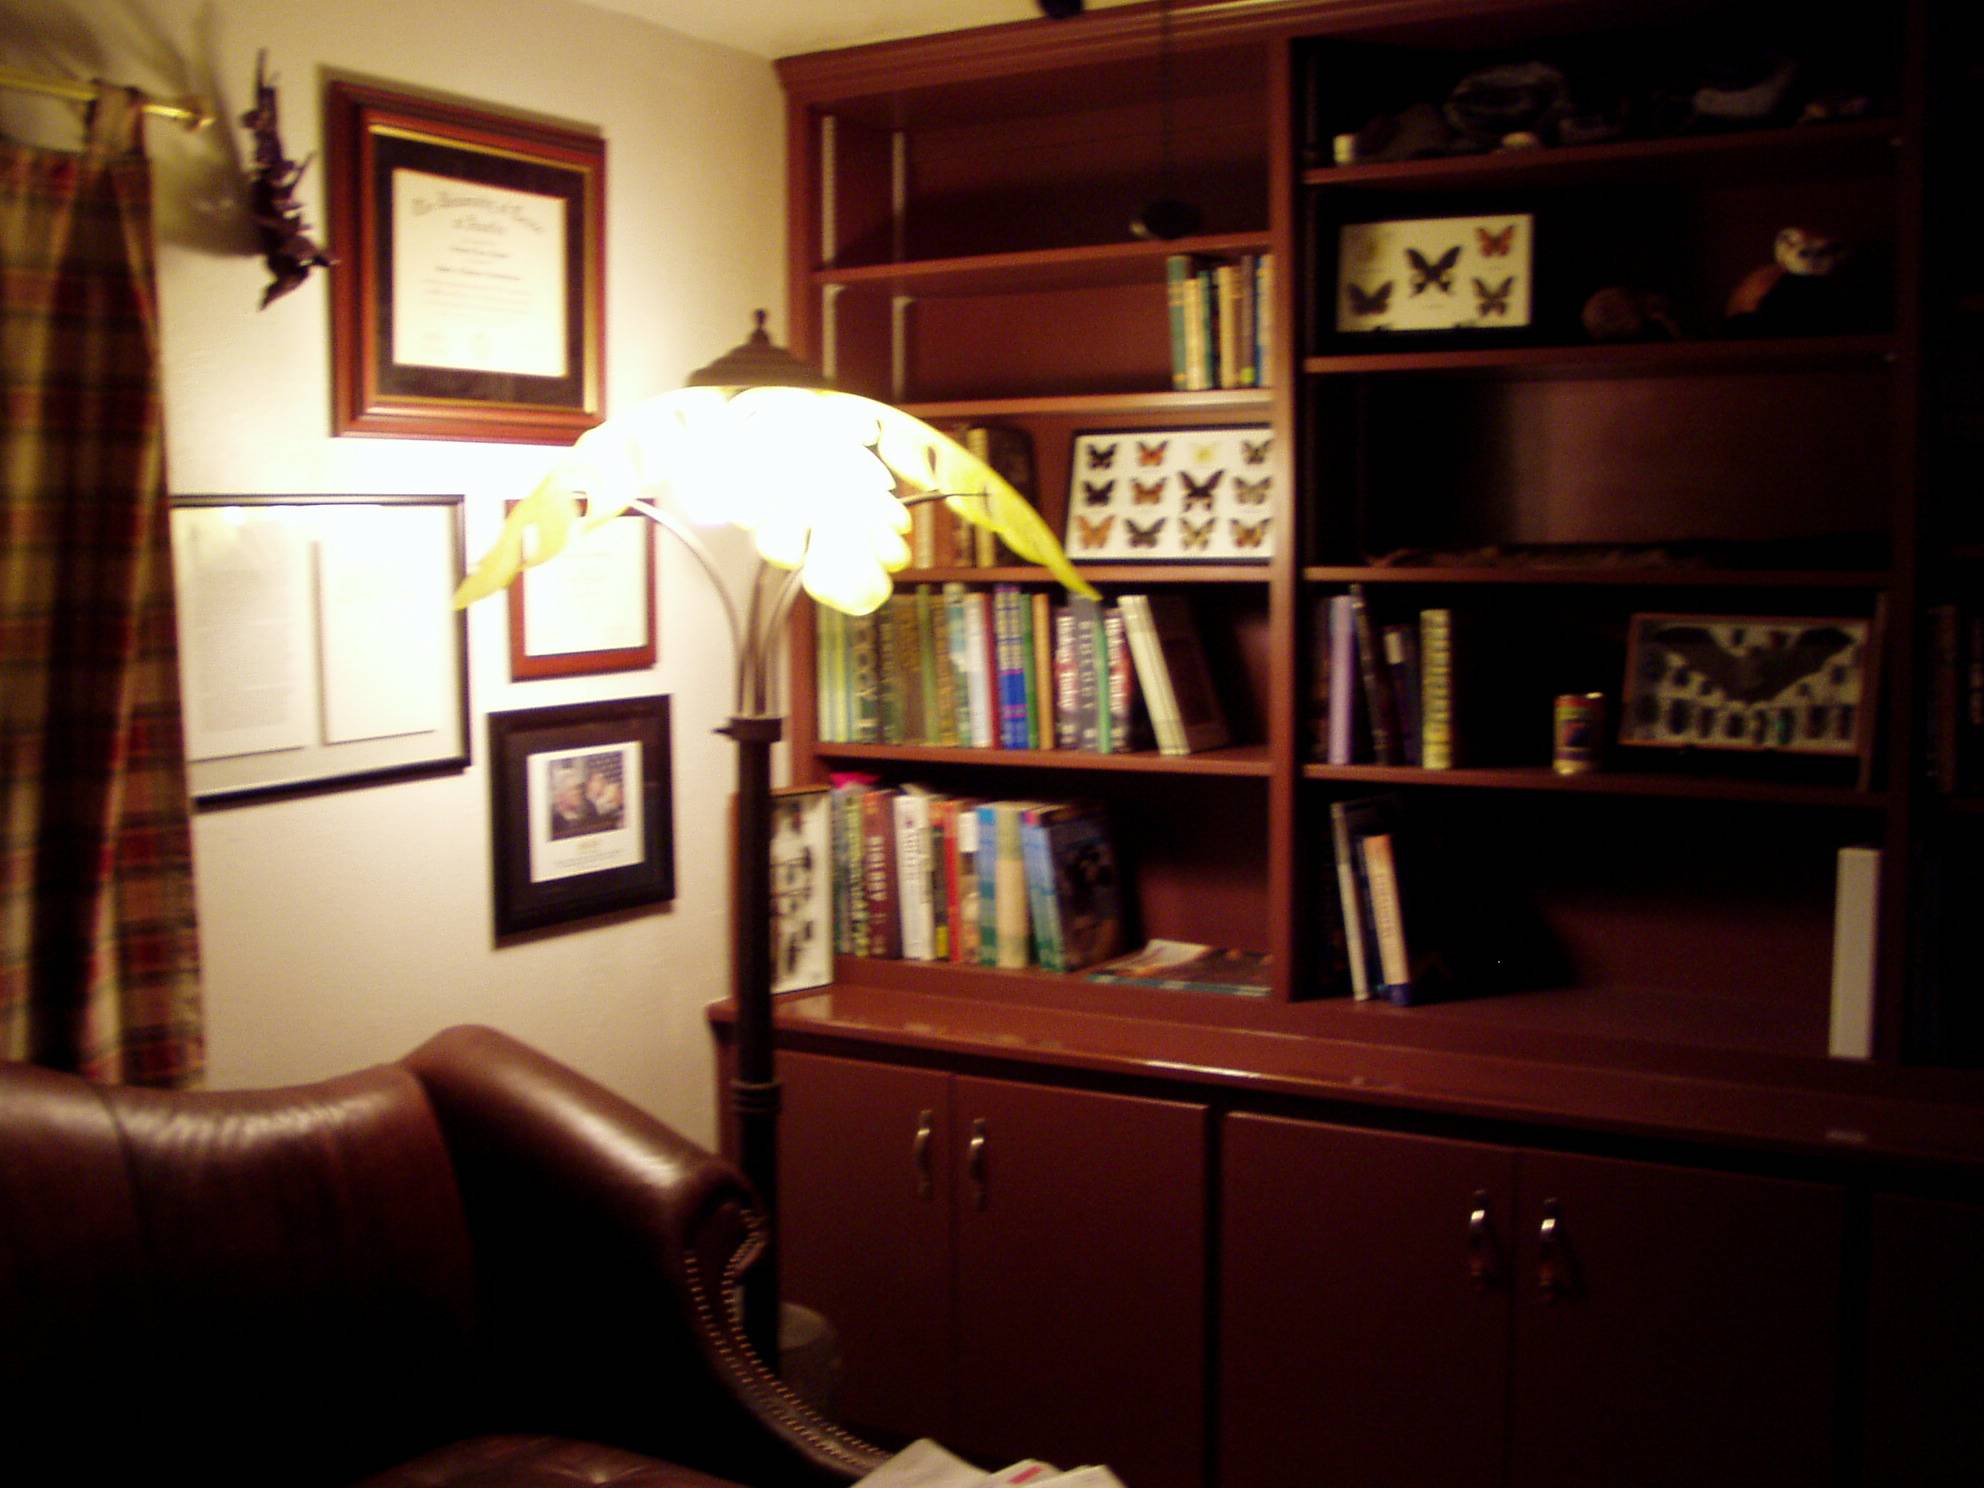
Built-in bookcases over storage units, a comfortable leather sofa, and shelves full of collectibles make this home office study perfect for the writer who built it.
I was quoted — and my home office/study was mentioned — in a recent article by Christina DesMarais. I won’t repeat all of the great tips she collected from people who work at home full or part-time, but reading her article got me to thinking about the things that really sap my productivity when I am working at home — and what things help me stay focused.
I stand by what I said in the article: the best investment I made in remodelling our house 10 years ago was to build not one, but two customized home offices. One for my husband, one for myself. We were both about to retire, and were busily working on our “bucket list” of travel options at the time, but I had the feeling that since we were still in our 40’s, retirement wouldn’t last forever and we would both want a place to work. I was right.
So the first thing to think about when you’re thinking of working at home is where you will work. We live in a 2,400 square foot 1950’s-style ranch house in Dallas. It’s the typical L-shaped 3-bedroom, two bath floor plan that was so popular in the middle of the 20th century, and finding space for two home offices was a challenge.
At first, I considered putting my husband’s workspace in the tiny “formal dining room”, next to the kitchen and open to what used to be the formal living room but is now our formal dining room. That would mean keeping it open to the entry foyer and the dining room, so everyone who came for dinner, or even through the front door, would have an unobstructed view of my husband’s workspace.
A few minute’s reflection quickly disabused me of that notion. My husband operates under the “more is better” school of paper, and he loves stacks. Stacks of paper. Stacks of books. Stacks of boxes. Stacks of things that look as if they should have gone into the dumpster long ago. He seems to thrive on clutter, and I am convinced he could fill Grand Central Station with clutter in three weeks flat.
So an open plan study wouldn’t work for him. A load-bearing wall in the area we wanted to use for his workspace made it hard to reconfigure it, so we settled for adding a door between the kitchen and the area, and using an 8′ X 8′ glass-fronted Victorian shop cabinet, which I bought at an antique auction for $500, as a room divider.
The ceiling in the area is 9′ tall, and the original gap between the old living and dining room was just over 7 feet. The way the bookcase is positioned, you can’t tell that it’s actually blocking a passageway. From my husband’s workspace, the old oak back of the bookcase looks like panelling, while the view from the dining room and foyer shows whatever I have on display this month. Sometimes it’s my collection of signed books, sometimes it’s china or silver, and at Christmas time, it’s filled with Christmas china and ornaments.

This 8′ by 8′ Victorian glass-fronted bookshelf was once in a shop somewhere in England. Bought at a local auction for $500, it became a room divider to create a more private study area and block the view of the workspace from the entry foyer and dining room of the house.
In his study he has a desk, computer, radio, bookcase, flat-screen TV, printer, and storage cabinet for office supplies and “stuff” — plus a big overstuffed leather reading chair with a floor lamp and side table. We put frames for signed movie posters on the wall, and he can rotate them out as he wants. At the moment, he’s got A History of Violence, Indiana Jones and the Last Crusade, and the Lord of the Rings: The Return of the King in the frames. Last month, it was Harry Potter, Star Wars: The Empire Strikes Back, and Neverland.
The total cost to give him his own workspace was about $2,300, including updated electrical writing and surge protectors, paint, new carpet, the door we built where none existed, and buying the bookshelf to (almost) completely close the space off.
Building a Custom Home Office
I decided to treat myself to the ultimate home office, turning one of the three bedrooms into a study for me. We ripped out a walk-in closet in the middle bedroom, adding that space to the bedroom next door which we also remodelled. A local designer sketched out the office of my dreams — built-in bookshelves, workspace and storage cabinets on three walls, a big, comfy sofa, plenty of task lighting but no bright sunlight to cause a glare on my computer screens, and places to store everything so the whole room was uncluttered.
The designer estimated the cost at about $30,000 — but calling around and making some minor changes brought the cost down to $8,000. The designer had specified “stain grade” wood for the built-ins, and included the cost of having them professionally finished. His original design also included some beautiful custom hardware and carving.
I loved the design (which cost about $1,500 to draw, including building plans). But it was just too expensive for my budget. I used to work with Homer Formby, creator of Formby’s Furniture Refinisher, and I’m a pretty good finisher myself, so I shopped around and found a cabinet-maker who would deliver all the custom woodwork, installed but unfinished, for about $4,000.
When the cabinets were in, I opted to paint them instead of stain them, and I hired a local contractor to paint and seal them with polyurethane for $1,000. We had the old carpet pulled up, the floor refinished, and upgraded the electrical wiring in the room for less than $1,000. I spent about $500 on a ceiling fan and some accessories for the room, including a new dog bed for my constant canine companion.
That’s it. Everything else in the room came from somewhere else in the house. I made the curtains myself out of fabric I bought on sale for $1 per yard, then covered a seat cushion for my office chair in the same fabric using nothing except a staple gun. We left the walls white, put down an antique rug that had been rolled-up in the garage, and we were done.
What We Did Wrong
We did some things wrong, of course. For instance, ripping out the walk-in closet was a bad idea. In doing so, we permanently turned our 3-bedroom house into a 2-bedroom house. According to a realtor, that reduces the value of our home substantially. Even though the custom cabinetry we put into the study and the adjacent bedroom, remodelling two bathrooms, upgrading the flooring and insulation throughout the house, and a complete interior and exterior paint job and other upgrades we made around the same time increased the value, they weren’t enough to change the fact that a 2-bedroom home in our family friendly neighborhood just isn’t worth as much as a 3-bedroom home.
The realtor said I should have left the closet, and turned it into storage, or simply taken the door off and fitted it with shelves, so it could be turned back into a closet at some future time. To be honest, that doesn’t bother me all that much. I doubt I will ever move, and when the house is eventually sold, it will be up to my kids to find a buyer and split the proceeds, so it isn’t something I have to worry about. But if I were younger, and thinking of an eventual sale, it is definitely something I’d rethink.
At the time we planned the remodel, we thought that we were done raising children, and that we would share our house only with our dogs. Life had a different plan for us — we acquired a 12-year-old granddaughter in the middle of our remodel, and she proved to be the first of three wonderful children we have been able to share our home with in the years since. So we have no guest room, and Christmas can be an interesting time with people sleeping all over the house.
Another mistake I made was moving my beloved large sofa into the study before the cabinets were installed. I learned later that there is absolutely no way to get the sofa OUT of the room without removing the window completely and taking it out that way. The rolled-arms on the sofa and the way the cabinetry is installed mean that even taking the door frame out won’t allow the sofa to pass into the narrow hallway.
Removing the window to move the sofa would cost about $7,000 I am told, since it’s likely that removing the window would mean replacing now only the windows but the casement and some of the brickwork. That’s a bit pricey — and I’m not willing to destroy my gorgeous designer leather sofa (originally sold by Neiman Marcus’s Horchow catalog for about $8,000, I paid about $1,200 for it at Horchow Finale several years before the renovation), and I’m not willing to destroy my built-ins, so the sofa stays.
What We Did Right
The biggest thing we did right was making no attempt for the two of us to share a workspace — or trying to put a workspace for either one of us inside another room. Our master bedroom is huge, and we had more than enough space there for a desk, computer, printer, and office chair along with some bookshelves or filing cabinets. In fact, that’s where the “home office” was before we retired.
The trouble with that, of course, is that it was never really a workspace. I am particularly prone to waking up at 3 a.m. with an idea that absolutely HAS to be written down right then. Every time that happened when the only desk in the house was in the master bedroom, I wound up disturbing my husband or the dogs. (Trust me, disturbing the dogs means waking up the whole household.)
Something else we did right was to take the personality and specific work needs of each person into account when we put together our workspaces. I value quiet, serene surroundings — and I don’t like bright sunlight flooding into the room when I’m working. So putting me on the side of the house that’s shaded by pecan trees, and surrounding me with walls of bookcases, adds a layer of quiet and calm that I couldn’t have if I tried to work in the sunny room on the front of the house, where there’s plenty of happy noise from the playground at the nearby school and the comings and goings of the household.

Bright sunlight, a view of the street, and a location adjacent to the kitchen make this workspace a center of activity — just the way the user likes it. Grandpa doesn’t mind when a grandkid (or three) uses his study for homework help, or to unpack a box of goodies as our 12-year-old is doing in this photo.
One more note about creating a workspace in the house: we loved our workspaces so much that when our grandson Kameron came to live with us we remodelled his bedroom to add a custom workspace that fit his needs. He picked the colors and finishes, and we made sure they were going to “grow” with him over time, and the result is a boy’s bedroom that will someday become a guest room again.
His room has plenty of open floor space, and a single-wall of built-in cabinets. We spent less than $1,600 on his room remodel — a cabinet maker delivered unpainted bookshelves and drawer units, then installed them with the laminate counter-top we’d ordered. A friend painted the bookshelves and drawer units for just $200, and Kameron and I painted the walls ourselves.

Affordable built-ins are great for a laptop, building Lego models, working on science fair projects, and all kinds of art projects. There are two floor to ceiling built-ins, with drawers below the laminate countertop and open bookshelves above. The bookcases flank a window that opens onto our backyard, which is surrounded by a tall privacy fence. Simple mini-blinds let Kameron determine how much light he wants. There are powerstrips along the countertop to charge all of his slectronics — laptop, iPod, phone, tablet. Clothes are stored in two of the four big “file drawers” under the worktop, and toys are in the other two. One of the bookshelves showcases trophies and models he’s built, the other has photos, books and art supplies. His collection of top-hats and circus props (he’s a juggler, clown, and aerial artist with a local youth circus) is also on display in his room.
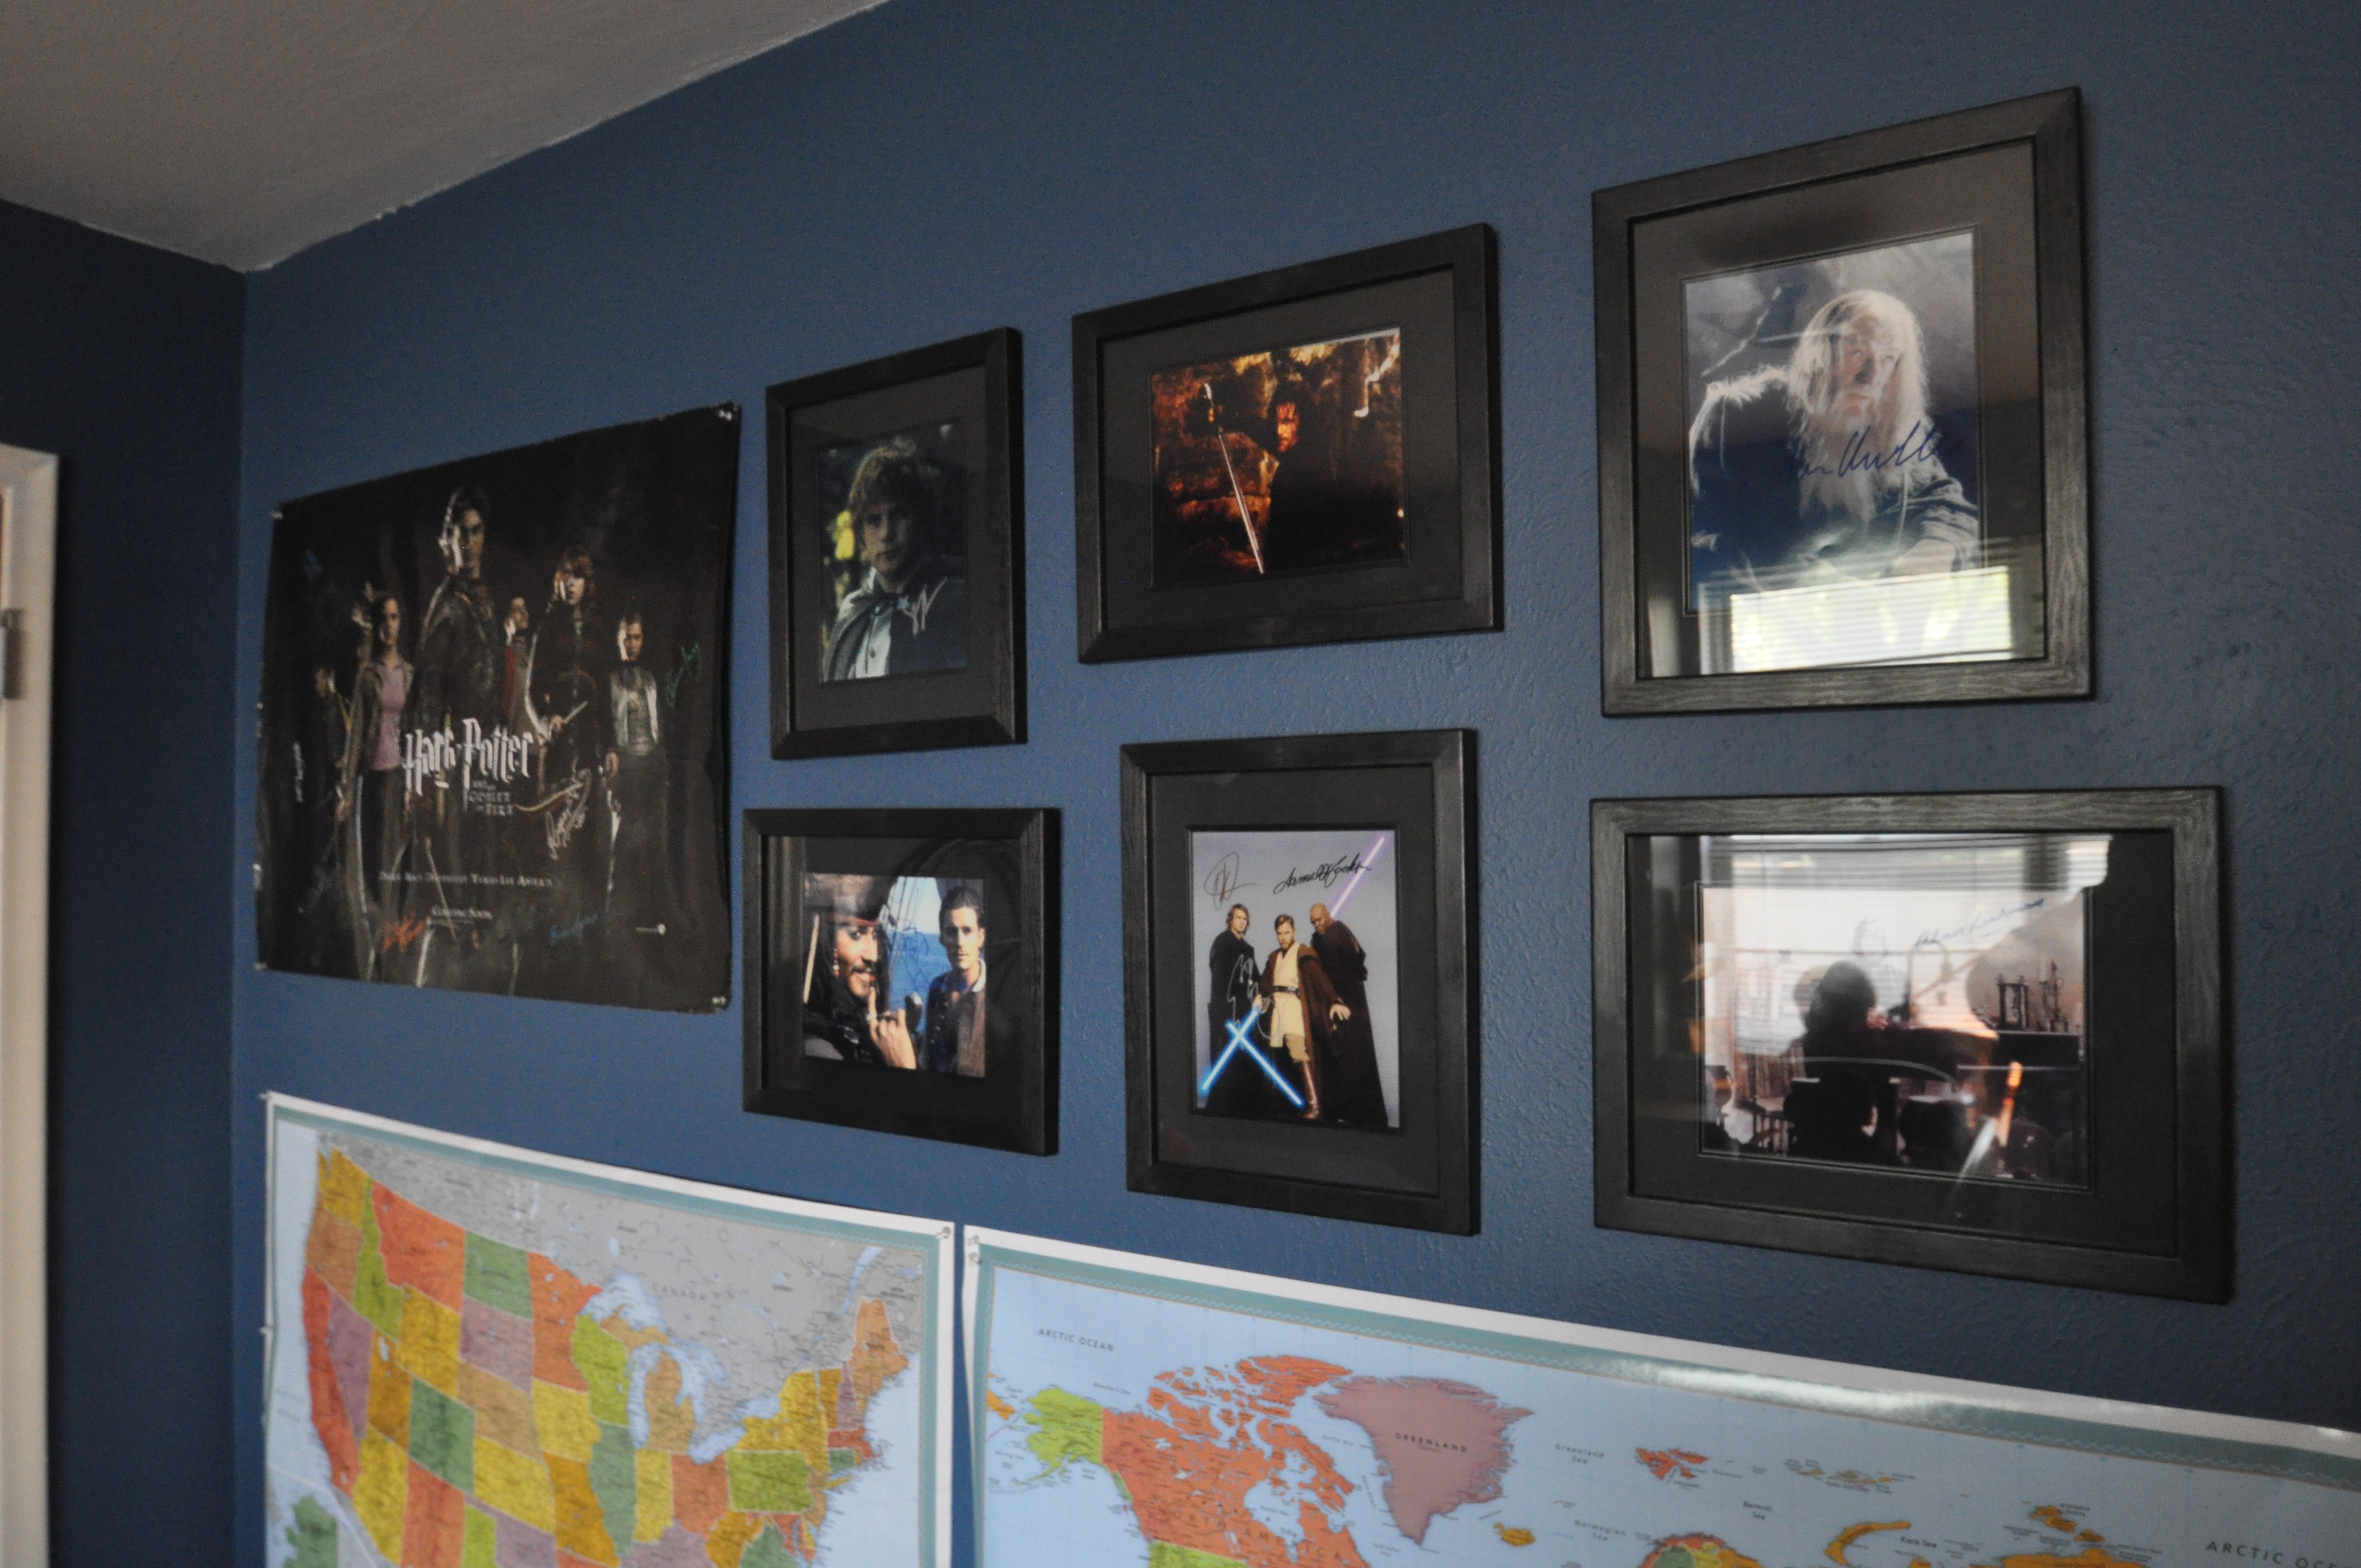
One wall of his room displays two large maps of the places he’s been and hopes to travel, along with his growing collection of autographed movie photos and posters.

